This guide uses cold brew coffee at home as the starting point for the practical advice below. 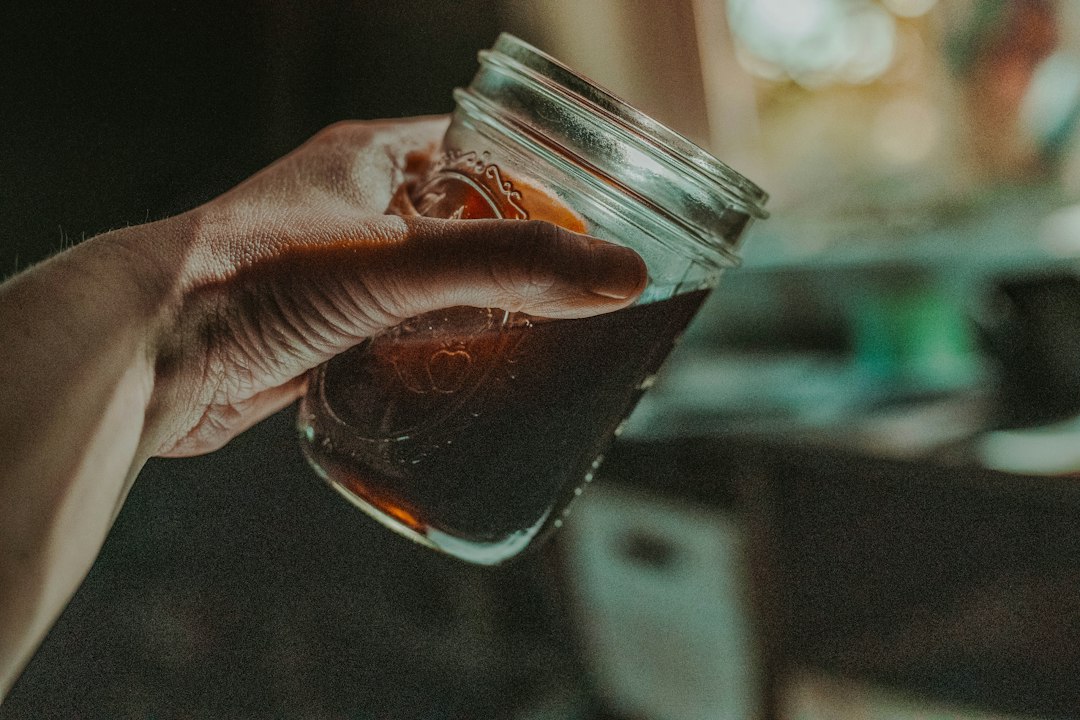
If you want a reliable, low-effort way to enjoy smooth iced coffee, cold brew coffee at home is one of the easiest skills you can add to your kitchen routine. You do not need premium machines or barista training. You need a jar, a filter, coffee, water, and a method you trust. This guide walks you through the entire process so you can brew a consistent batch every time without chasing complicated hacks.
Why cold brew belongs in your kitchen
Cold brew earns its place because it is forgiving, scalable, and convenient. Unlike hot coffee, which can swing from sharp to flat within seconds depending on water temperature and timing, cold brew extracts slowly in the fridge over 12 to 24 hours. That slow process pulls fewer bitter compounds and yields a naturally sweet, low-acidity cup that many people find easier to sip. It is also batch friendly. You can make a week’s worth on Sunday and keep your mornings simple.
There is also a flavor profile difference that matters. Iced coffee is typically hot coffee cooled down with ice, which can taste thin and sometimes sour if not brewed strong. Cold brew, on the other hand, is extracted cold from the start. This gives it a rounder, chocolatey, sometimes nutty character. If you like desserts with cocoa notes, cold brew will likely align with your palate.
Finally, cold brew is practical. It pairs well with milk, plant milks, or a splash of simple syrup. It is easy to serve to a crowd straight from the fridge. And because it is brewed as a concentrate, you can customize each glass by diluting more or less to taste. Convenience does not have to mean bland; cold brew can be both.
Cold brew vs. iced coffee: what’s the real difference?
It is helpful to be precise about terms because recipes and expectations depend on them. Iced coffee is brewed hot and then cooled with ice. This can be delicious when brewed strong with a method like Japanese-style iced pour-over, where melting ice is built into the recipe. But because it starts hot, it extracts the full spectrum of solubles very quickly, including acids that can become sharp once chilled.
Cold brew is brewed with room-temperature or cold water from the start and never gets heated. The extraction takes many hours. You will often see a coarser grind, a higher coffee-to-water ratio, and a long steep, followed by filtration. The result tends to be smoother and less bright, with a heavier body. These characteristics are not value judgments: some people prefer the crisp, tea-like clarity of iced pour-over; others love the velvety texture of cold brew. Knowing the difference lets you choose the style that fits your preference and schedule.
From a planning perspective, iced coffee is a same-day beverage and cold brew is a make-ahead project. If you like set-it-and-forget-it food prep, cold brew aligns with your habits. It also frees up your morning routine because your coffee is already brewed before you wake up.
Gear checklist: from budget to premium
You can make excellent cold brew with very little equipment. Below is a practical gear ladder that meets you where you are. Use the simplest option that fits your budget and space, then upgrade only if you want new conveniences.
- Container: Any glass jar or pitcher with a lid works. A 1-liter to 2-liter capacity is ideal for household batches. If you want easier pouring, a mason jar with a spout lid or a dedicated cold brew pitcher helps.
- Filter: A fine-mesh sieve lined with a clean cotton cloth or paper filter is enough. For ease, reusable stainless-steel infuser baskets fit many pitchers. If you prefer ultra-clear coffee, paper filters yield a cleaner cup.
- Grinder: A burr grinder is the single best upgrade. Coarse, even particles produce consistent extraction and easier filtration. If you do not own one, ask your roaster to grind for cold brew or buy pre-ground labeled coarse; then store it airtight.
- Scale: Optional but useful. Measuring grams improves repeatability. If you do not own a scale, tablespoons and cups can get you very close when you stick to one method.
- Refrigerator space: Make sure your container fits upright. If space is tight, brew in a shorter, wider vessel.
Nice-to-have extras include a silicone funnel for less mess when filtering, a rubber spatula for stirring grounds, and a bottle for storing the finished concentrate separately from the spent grounds.
Beans and grind size: dialing in flavor
Cold brew favors beans with chocolate, nut, and caramel notes because the cool extraction emphasizes sweetness and body over sparkling acidity. Medium or medium-dark roasts often shine. That said, do not be afraid to experiment with light roasts if you enjoy a lighter flavor. The low-acidity reputation of cold brew comes from extraction physics, not a rule that you must choose dark roasts. Lighter roasts can yield a floral, tea-like cold brew when ground and brewed properly.
Grind is crucial. Aim for a coarse texture similar to raw sugar or sea salt. This slows extraction just enough to prevent over-extraction while allowing water to circulate easily. If your grind is too fine, your brew will taste bitter, silty, and hard to filter. If your grind is too coarse, it will taste weak or sour because water did not extract enough solubles. Start coarse and adjust by taste: if your coffee is harsh, go coarser or shorten the steep; if it is thin, grind slightly finer or steep longer.
Freshness matters too. Whole beans stored in a sealed bag away from light and heat maintain their aromatics longer. If you can, grind just before brewing. If you cannot, limit pre-ground storage to a week or two. The difference shows in a more aromatic, layered cup rather than a flat or stale one.
Water quality and brew ratios that work
Water is most of your beverage, so it deserves attention. Use cold, clean water that tastes pleasant on its own. Filtered tap water is fine in most places; bottled spring water is also a good option, especially if your tap water is heavily chlorinated or very hard. Soft to moderately hard water tends to produce sweeter extraction, but you do not need to obsess. If your water tastes good, it is good enough for cold brew.
As for ratios, two simple templates cover almost every home need:
- Standard strength: 1:8 by weight (for example, 125 g coffee to 1000 g water) yields a ready-to-drink cold brew after filtration. Serve over ice or with milk without dilution.
- Concentrate: 1:4 by weight (for example, 250 g coffee to 1000 g water) produces a strong base you dilute 1:1 with water or milk when serving. This is great for households that prefer different strengths; each person customizes their glass.
If you measure by volume rather than weight, a handy starting point is 1 cup of coarsely ground coffee to 4 cups of water for concentrate, and 1 cup to 8 cups of water for standard strength. Stir thoroughly to wet all the grounds. Undersaturated pockets of dry coffee lead to uneven extraction and wasted flavor.
How to make cold brew coffee at home step by step
The following method is simple, repeatable, and easy to scale. It makes roughly one liter of ready-to-drink cold brew using a standard-strength ratio. For concentrate, double the coffee and keep the water the same.
- Measure and grind: Weigh 125 g of coffee. Grind coarse. If measuring by volume, use roughly 1.25 cups of coarsely ground coffee.
- Combine with water: Add grounds to your jar or pitcher. Pour in 1000 g (about 1 liter) of cold water. Stir until all grounds are fully wet and no clumps remain.
- Cover and steep: Seal the container and place it in the refrigerator. Steep 12 to 18 hours. Shorter steeps produce a lighter cup; longer steeps produce a fuller cup. Most palates land around 14 to 16 hours.
- Filter: Strain the mixture through a fine-mesh sieve lined with a clean cloth or paper filter into a clean container. If you prefer extra clarity, run the brew through a fresh paper filter a second time. Avoid squeezing the filter; let gravity work to reduce sediment and harshness.
- Serve or store: Transfer the filtered coffee to a clean bottle or jar. Refrigerate and use within several days for best flavor.
This method scales up cleanly: keep the ratio and steep time consistent, and use a larger container. If you brew concentrate, dilute with equal parts water or milk when serving, then adjust to taste. Remember that ice will soften the flavor, so slightly stronger concentrate often works well for iced service.
Filtering options: clarity versus convenience
Filtration affects flavor and texture more than many people expect. Different methods trade clarity for speed and effort. Knowing the options helps you choose what matters most to you.
- Cloth or paper: Produces the clearest cup with less sediment. Paper also traps more oils, which can lighten body but enhance perceived cleanliness. If you enjoy bright, tea-like texture, paper is a good match.
- Metal mesh: Faster and reusable. You will see a bit more sediment and a fuller body. A second pass through paper is an easy compromise when you want both convenience and clarity.
- French press: Steep in the press, then plunge and pour through a secondary filter if you dislike sediment. The press makes stirring easy and keeps grounds contained.
Regardless of method, filter into a clean vessel. Residual oils and old coffee flavors can mute your brew. If your coffee tastes muddy, rinse your filter thoroughly and consider a second filtration with paper. If it tastes too light, a single-pass metal filter may preserve more of the coffee’s oils and perceived richness.
Flavor variations and simple recipes
Cold brew is a canvas. A few small additions can create dramatically different experiences without complicating your workflow. Start with these low-effort ideas and adjust to your taste.
- Vanilla and brown sugar: Dissolve a tablespoon of brown sugar in a tablespoon of hot water to make a quick syrup. Add a drop of vanilla extract to the glass before pouring coffee. The caramel notes complement most medium roasts.
- Citrus twist: Add a wide peel of orange or lemon to the jar before steeping. Remove before filtration. This adds a light, aromatic edge that brightens darker roasts.
- Spice infusion: A stick of cinnamon or a few crushed cardamom pods in the steep can add warmth. Use a light hand; spices become more pronounced during long steeps.
- Mocha: Stir a teaspoon of cocoa powder into the glass with a splash of hot water to dissolve, then add cold brew and milk. The chocolate complements cold extraction’s natural sweetness.
- Maple and oat: Mix equal parts cold brew concentrate and oat milk, then sweeten with a teaspoon of maple syrup. This combination yields a creamy, brunch-friendly drink.
For a special-occasion presentation, try shaking cold brew concentrate with ice in a jar for 10 to 15 seconds. This aerates the drink slightly and creates a light foam, evoking the texture people enjoy in certain cafe beverages without extra equipment.
Serving, dilution, and ice practices
Because cold brew is often brewed strong, what you do in the glass matters. A little attention to dilution and ice quality delivers a consistently balanced cup. If you brewed standard strength (1:8), serve it over a small amount of ice to limit excessive dilution. If you brewed concentrate (1:4), dilute one to one with water or milk before adding ice, then adjust as you taste it.
Ice quality counts. Fresh, clear ice that does not smell like the freezer preserves your coffee’s flavor. If you use an ice maker, transfer cubes to a sealed bag to avoid absorbing odors. You can also freeze a few cubes of cold brew to use as “coffee ice” so your drink stays strong while it chills.
For milk drinks, add milk to cold brew rather than the other way around; this helps integrate the liquids smoothly. If you prefer a little sweetness, dissolve sugar in a small amount of hot water first to make a quick syrup. Granulated sugar does not dissolve well in cold beverages without agitation.
Storage, freshness, and practical safety tips
Cold brew stores well, which is part of its appeal. Keep your finished coffee in a clean, airtight container in the refrigerator. Most home batches taste their best within three to five days. After that, flavors flatten and muted notes creep in. If you brewed a concentrate, consider storing it undiluted and mixing each glass fresh; this keeps options open and maintains flavor longer.
Use clean tools and containers, and avoid touching the filtered coffee with your hands. If any off smell develops, or if the coffee looks cloudy in a way that does not settle, it is better to brew a fresh batch. Your senses are reliable guides. When in doubt, make a smaller batch more often rather than stretching one batch for too long.
Label your jar with the brew date and ratio. This small habit helps you learn which recipes you prefer and reminds you when it is time to brew again. It is also helpful if you share a household; anyone can see at a glance how to serve the coffee on hand.
Troubleshooting: fix the most common taste issues
Every kitchen is different, so even a solid recipe can taste unexpected at first. Use this quick problem-solution guide to tune your next batch without guesswork.
- Tastes bitter or harsh: Grind coarser, shorten the steep to 12–14 hours, and avoid squeezing the filter. Try paper filtration for a cleaner cup.
- Tastes thin or weak: Grind a touch finer, increase coffee slightly (for example, from 125 g to 135 g per liter), or extend the steep by 2 hours. If you used paper, try metal mesh for more body.
- Tastes sour: Sourness often signals under-extraction. Extend steep time or grind slightly finer. Ensure all grounds were fully saturated at the start.
- Too much sediment: Let the brew settle a few minutes before pouring, filter a second time with paper, and avoid disturbing the jar while it steeps.
- Flat flavor: Use fresher beans, try a different roast level, or switch water if yours tastes heavily chlorinated. A small pinch of salt in the glass can sometimes round out harsh edges.
Make one change at a time so you can attribute results. Keep short notes on grind setting, ratio, steep time, filter method, and outcome. After two or three batches, you will have a house recipe that consistently works for your beans and water.
Sustainability and cleanup made simple
Cold brew can be a low-waste habit with a few easy practices. Rinse and reuse cloth filters. If you use paper, compost the spent filters and grounds if your local program accepts them. Grounds can also deodorize your trash bin or enrich soil when mixed with compost. Avoid sending oils down the drain; they can build up over time. Wipe your jar with a paper towel before washing to remove residual oils, then wash with hot, soapy water.
Choose durable gear when possible. A sturdy glass jar with a metal lid can last for years. If you buy a dedicated cold brew pitcher, pick one with replaceable parts. Fewer replacements mean less waste and long-term savings. And if you enjoy flavored drinks, make simple syrups in small batches and store them in reusable bottles rather than single-use sweeteners.
Finally, consider buying beans from local roasters who source responsibly. Many publish origin details, harvest timings, and purchasing practices. Supporting thoughtful sourcing can make your daily coffee ritual align with your values without adding complexity to your brew day.
Cost, scheduling, and make-ahead planning
Brewing at home is one of the easiest ways to cut coffee costs. A typical cafe cold brew might cost several dollars per cup. With a 12-ounce bag of beans and an at-home ratio like 1:8, you can brew multiple liters for the price of two or three cafe drinks. Even when you add the cost of filters and water, the per-glass price usually falls dramatically.
Scheduling is straightforward when you treat cold brew like meal prep. Pick two brew windows per week that fit your routine, such as Sunday night and Wednesday night. Start the steep after dinner, filter the next morning, and you will always have fresh coffee on hand. If you keep a concentrate, you can even stretch a single brew longer by diluting right before serving.
Keep a simple rotation: while one batch is steeping, the previous batch is ready to drink. Label the jars, note the ratio, and track what you like best. Over a few weeks, you will find a rhythm that fits your household. If you need more ideas for food-and-beverage planning, explore resources at Rod & Style for inspiration within the same kitchen-first mindset.
Advanced tips for tinkerers
Once you have a reliable base method, you might enjoy small experiments. Try a split steep: start at room temperature for two hours to jumpstart extraction, then move to the fridge for the remaining time. This can add a touch of brightness without risking bitterness. Or, test a light agitation halfway through the steep by gently swirling the jar; some find this evens out extraction with dense, lightly roasted beans.
If you want more aroma, bloom your grounds lightly: pour just enough water to wet all grounds, wait three minutes, then add the rest. While blooming is usually a hot-brew technique, some drinkers feel it opens aromatics even in cold extraction. Results vary by bean and roast, so consider it a fun option, not a requirement.
Finally, if clarity is your priority, refrigerate the filtered coffee overnight and decant off any settled fines before bottling. This “cold settling” step polishes the texture further, especially for those who dislike any grit in the last sip.
Quick reference: your cold brew playbook
Use this short checklist when you do not want to scroll.
- Choose beans with chocolate or nut notes; grind coarse.
- Use water that tastes good; start at 1:8 for ready-to-drink or 1:4 for concentrate.
- Stir thoroughly, steep 12–18 hours in the fridge.
- Filter once (metal) for body or twice (paper) for clarity.
- Serve over fresh ice; dilute concentrate 1:1 to start.
- Store airtight in the fridge; enjoy within several days.
- Adjust one variable at a time to fix taste issues.
With this playbook and a couple of batches of practice, you will have a repeatable process that produces the flavor you like, on your schedule, without extra fuss. Your morning coffee becomes a quick pour instead of a project, and your afternoon pick-me-up waits in the fridge just as you like it.